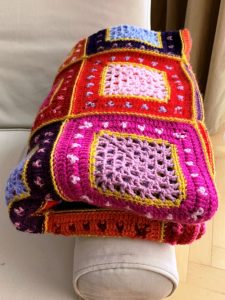
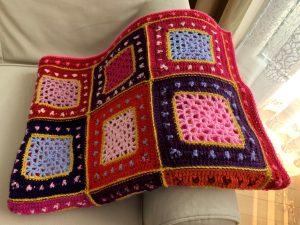
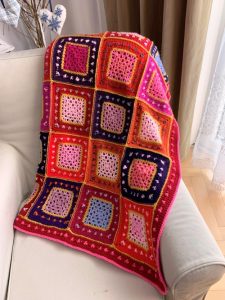
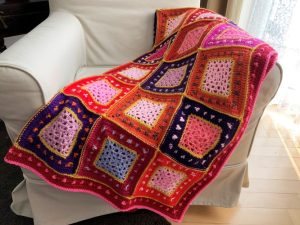
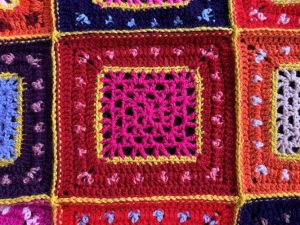
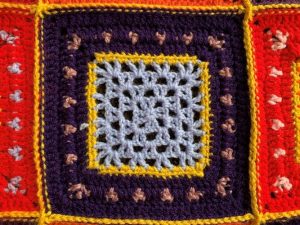
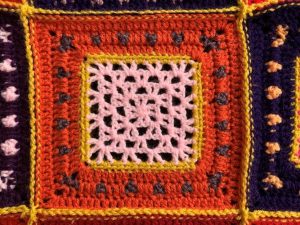
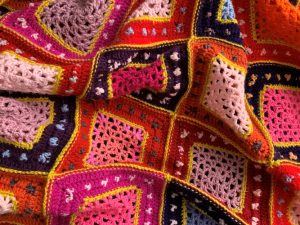
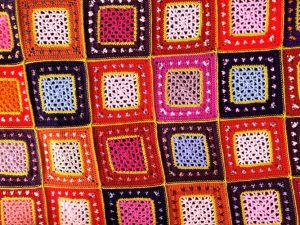
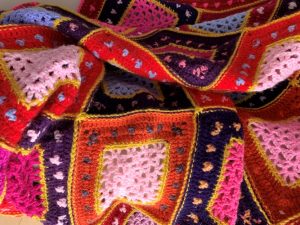
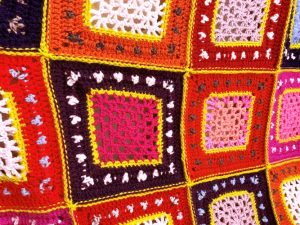
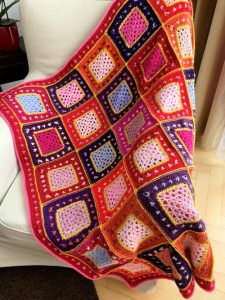
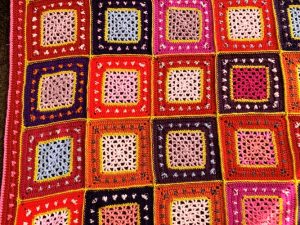
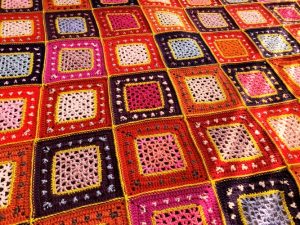
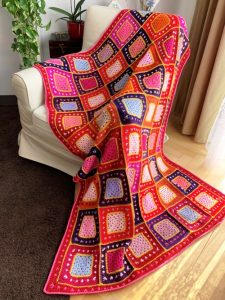
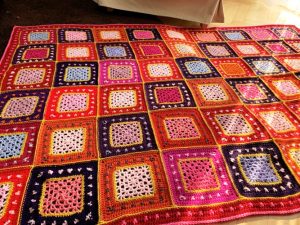
Crochet blanket made of red, purple, orange, and pink yarn residues. Amend the red yarns with a contrast colour – in my case mustard yellow and divide them into groups:
Group A: Light and vibrant shades of pink and purple
Group B: dark shades of red, purple
Group C: contrast colour mustard yellow
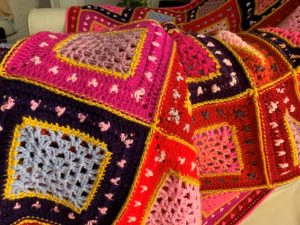
Total weight of the blanket: 800 g .
Blanket size: 120 x 170 cm
Square size: 18 x 18 cm
Nr. of squares: 6 x 9 = 54
Difficulty: Medium
Other material: hook 4 mm, scissors, needle
Square to the blanket has name “Zilina”
Material: 100% acrylic 100 g = cca 300 m
Colours:
Group A: Light and vibrant shades of pink and purple
Group B: dark shades of red, purple
Group C: contrast colour mustard yellow
Stitches (US terminology)
Ch – chain
ss- slip stitch
sc – single crochet
hdc – half double crochet
dc – double crochet
bphdc – back post hdc
V stitch – dc. Ch, dc in one stitch or space
COR1 – sc, ch, sc
COR1A – beginning of the row: 3ch, sc
COR2 – hdc, 2 ch, hdc
COR2A – beginning of the row: ch, hdc, 2ch, hdc
COR3 – 2 dc, 2ch, 2 dc
COR3A – beginning of the row: 2ch, dc, 2ch,2dc
COR4 – 3dc, ch2, 3dc
COR4A – beginning of the row: 2ch, 2dc, 2ch, 3dc
COR5: V, 2ro, V
COR5A – beginning of the row: 5ch (=dc + 2ch corner space), V
Joining the squares
Use colour (C) for joining
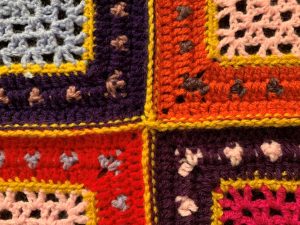
Place the squares flatly as you wish to have them in the blanket.
Sew or crochet them together in one direction and then in other direction.
I crocheted them together with ss to the BL. When I held 2 squares back-to back BLs are: 2nd loop on the square near to you, 1st loop of the farer square.
Ss to both corner chains, (27 ss to sc, ss to corner ch, ch2, ss to corner ch) repeat to join all squares in row, finish the row with ss to both corner chains. Do not twist the squares. Put a marker to first square.
Edge
When creating the edge, I had to reduce the number of stitches, because the edge rippled. I reduced the number of stitches in 2nd row of the edge. Please check the condition of your edge, if necessary, unwind and adjust the number of stitches according to the needs of your project. Attach new color of yarn to the corner with a ss, tighten the ss before starting the row.
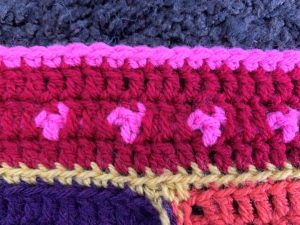
1.r. (C) COR1, 27 sc, all sc are crochet through the BL, dc to 1st corner ch, dc to the join, dc to the 2nd corner chain the next square – repeat to the end of the side, COR1 to the corner. Repeat around the entire blanket, finish with a ss to the first corner space of the row, cut the yarn. (My blanket has 269 x 197 stitches)

2.r. (B): I realized, that my edge is wavy so I unwind the row and started again with the following stitch reduction: I crocheted together 2 dc in the join and 2 x 2 dc by every square. Row 2: COR3A, dc or dc2tog to every back loop on sides, COR3 to the corners, finish with a ss to the first dc, ss to the corner space. (243/166)
3.r (A): (COR1, 2ch (loosely!), skip 2 stitches, (dc, 3ch, skip 3 stitches) repeat to the end of side) x 4, finish the row with a ss into 1st corner space (If the count of stitches is not working as in my blanket, finish the side with ch2, skip2, or ch4, skip4)
4.r (B): COR3A, (dc to every free stitch of row 2, sc to every dc and sc of row 3, COR3) x 3, dc to every free stitch of row 2, sc to every dc and sc of row 3, finish the row with a ss into 1st corner space
5.r. (B) COR3A, dc ro every stitch on sides, COR3 to the corners, finish with a ss to the first dc, ss to the corner space.
6.r. (A) (COR1, sc to every stitch) x 4, finish the row with invisible join, sew in the ends of yarns.
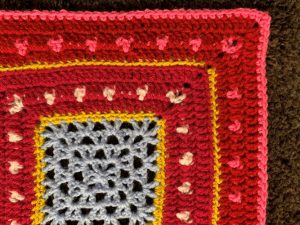
Sew the protruding threads. Your project is ready. If you liked the project and made your own blanket, I will be happy if you send me a photo from my blog – contacts. Thank you and enjoy crocheting.

